If you're looking for an effective solution for hair removal, waxing underarms is one of the most popular choices.
Waxing not only removes hair by the roots but also exfoliates, leaving you with smooth skin for weeks. While many opt for professional salons, waxing armpits at home can be just as easy, effective and more economical when done correctly.
In this guide, we'll explore Nad’s Top 10 Tips for waxing underarms at home, ensuring you achieve the best results along with proper post care.
Tip 1. Choose the Best Wax for Underarms
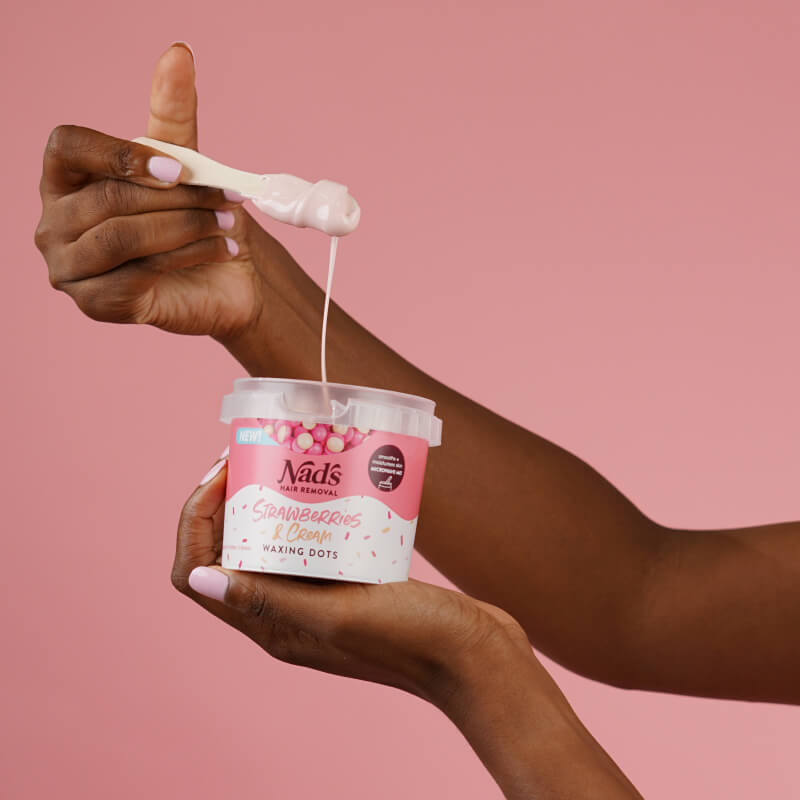
Before you begin the waxing process, it's essential to choose the best wax for underarms. There are various types of wax available in the market, including hard wax, soft wax and wax strips. Hard wax is usually recommended for sensitive areas like the armpits, as it adheres to the hair rather than the skin, minimising discomfort. Keep an eye out for products made "for sensitive skin" or "best armpit wax" to ensure a more comfortable experience. We recommend Nad’s Hair Removal Waxing Dots, which are easy to use and perfect for sensitive skin areas.
Tip 2. Prep Your Skin Properly
Preparation is key when it comes to effectively waxing underarms. Begin by ensuring your skin is clean, dry and free of any deodorants, oils, or moisturisers. Exfoliate your underarms a day prior to waxing. This will help to remove dead skin cells and will allow the wax to grip the hair better, resulting in a smoother finish. A gentle scrub or a loofah can effectively do the job.
Tip 3. Grow Out Your Hair
For optimal results, hair should be about the length of a grain of rice or 2-5mm before waxing. If you're used to shaving, you might need to wait a week or two for your hair to grow out sufficiently. Short hair can lead to an ineffective wax, as the wax may not grip the hair effectively, leading to breakage, ingrown hair and irritation.

Tip 4. Perform a Patch Test
Before diving straight into waxing your armpits, it’s wise to perform a patch test, especially if you're using a product for the first time. Apply a small amount of the wax on a less sensitive area, such as your forearm. Wait for 24 hours to check for any redness or irritations. This will help you avoid discomfort or an adverse reaction during the actual waxing process.
Tip 5. Heat the Wax to the Right Temperature
Correct temperature is key when waxing underarms. If the wax is too hot, it can burn your skin; if it's too cold, it won't adhere to the hair. Follow the instructions for heating, and always test the wax temperature on the inside of your wrist to ensure it’s at the optimal temperature before applying it to your underarms.

Tip 6. Apply the Wax Correctly
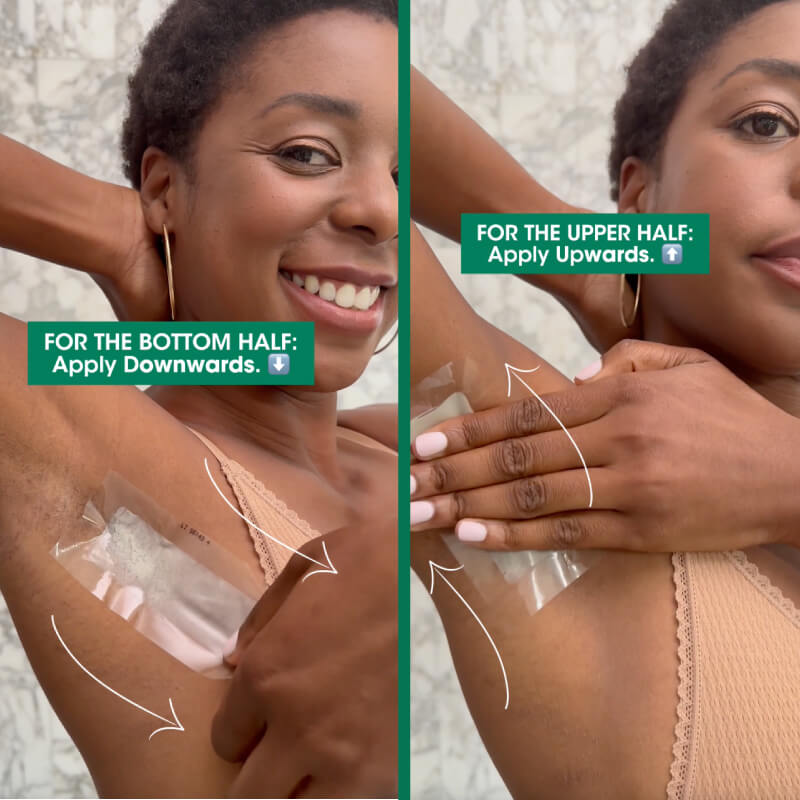
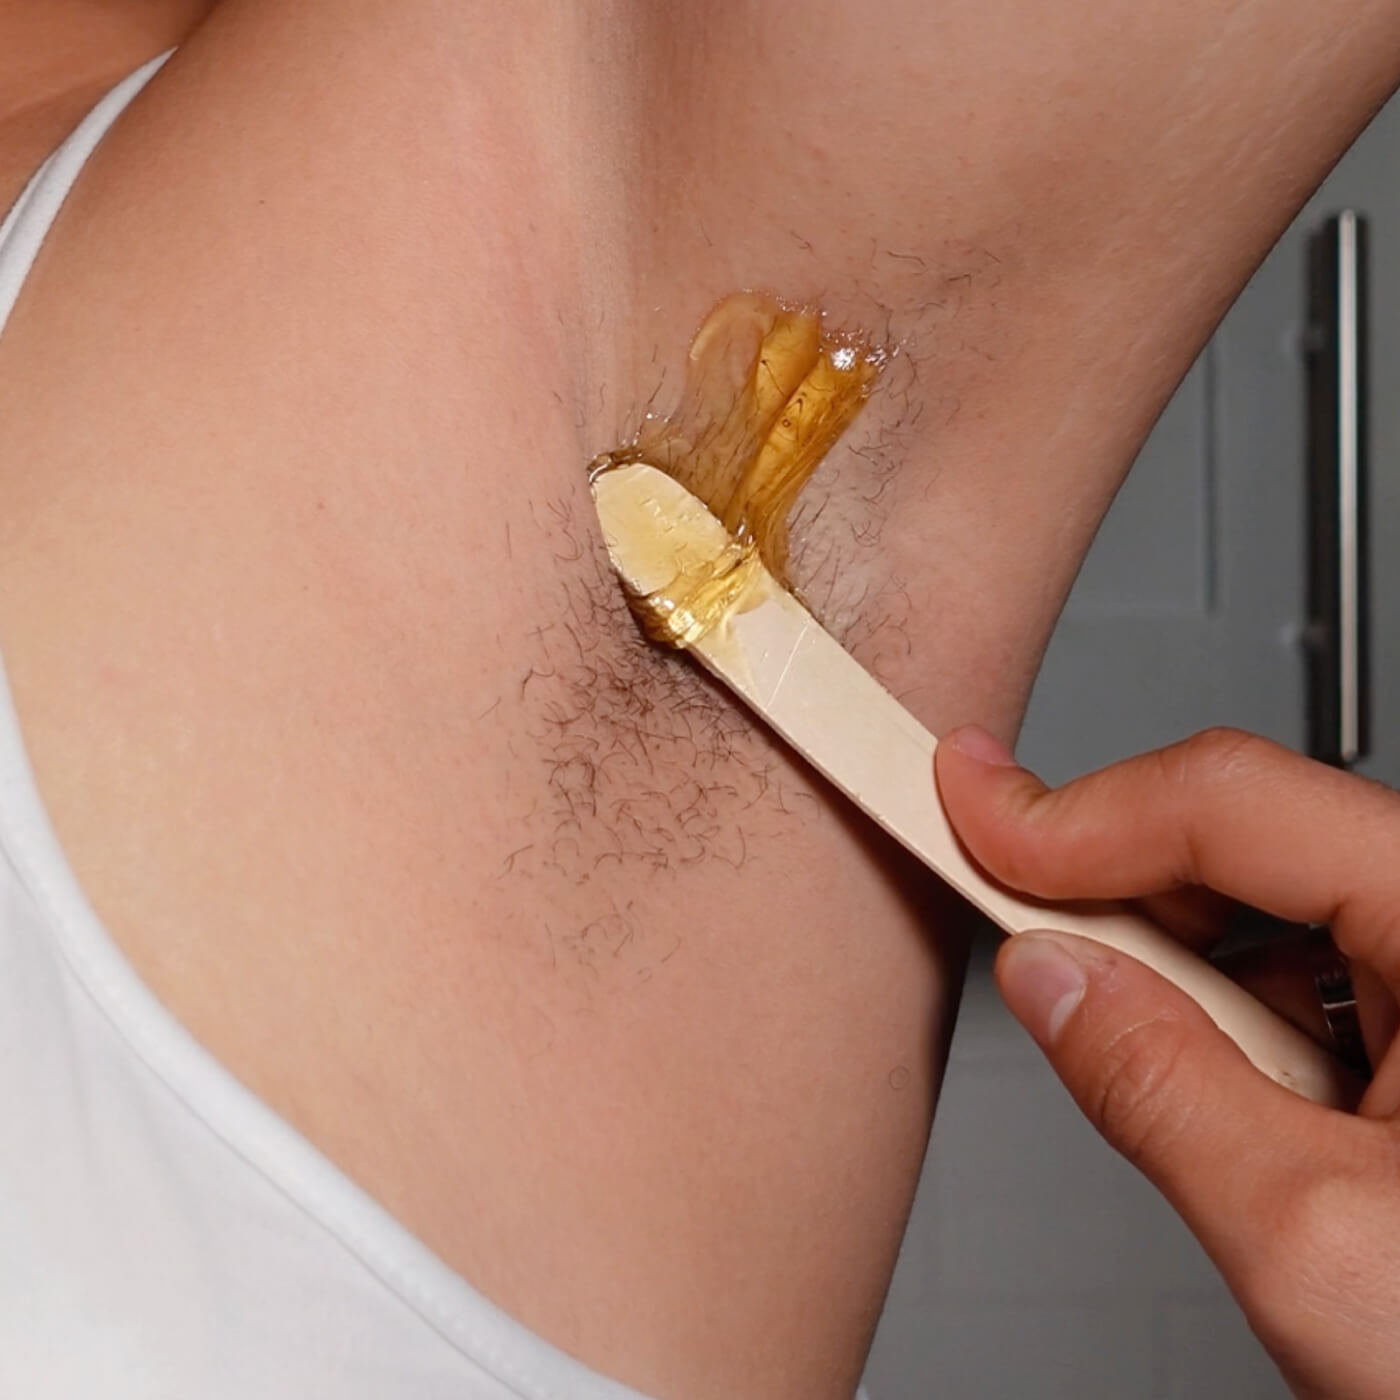
For best results when waxing underarms, ensure the wax is applied in the direction of the hair growth . Underarm hair tends to grow in two different directions so treat in two stages. Use a spatula to spread a thin layer of wax following the hair growth. Make sure to cover a small area at a time, and do not apply too thick a layer, as this may make it harder to remove. Allow the wax to cool slightly but not completely harden before moving on to the next step.

Tip 7. Remove the Wax with Confidence
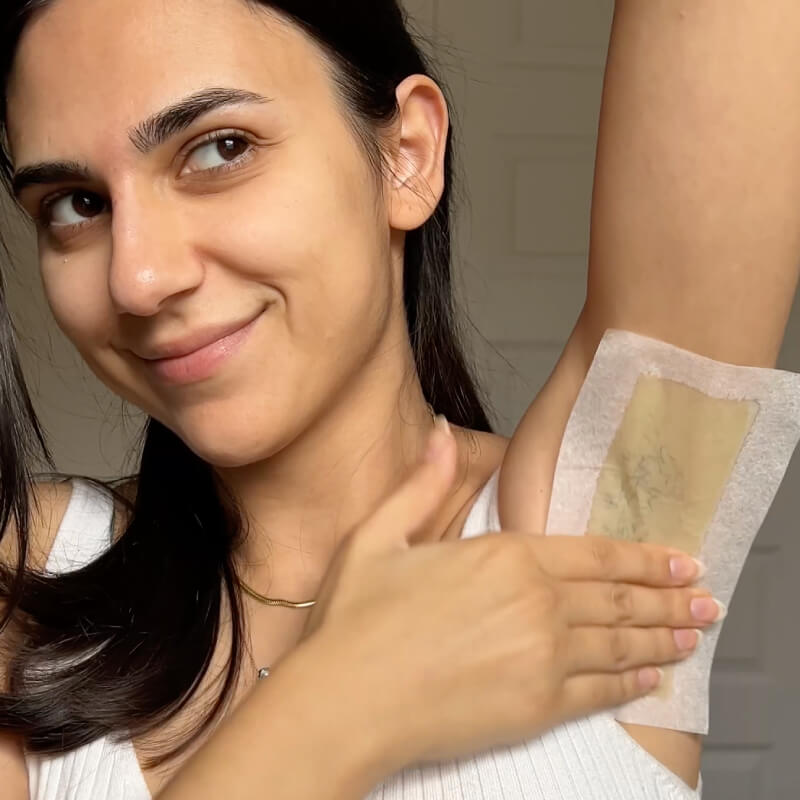
Once the wax has set (it should be firm but not completely hard), it’s time to remove it. Hold the skin taut by lifting the elbow up while quickly pulling the wax strip or hard wax off with the other hand in the opposite direction of hair growth. Don’t hesitate when removing! A swift removal will minimise discomfort, any chance of bruising and will leave your skin smooth and hairfree.
Tip 8. Soothe the Skin Post-Waxing
After waxing armpits at home, your skin might feel a little sensitive. This is completely normal. To soothe the area, apply a cold compress or a soothing gel like aloe vera that can help reduce redness and irritation. Avoid using any products with alcohol or strong fragrances/perfumes, as they can exacerbate skin sensitivity.
Tip 9. Follow an Effective Post Underarm Wax Care Routine
Post underarm wax care is crucial for preventing ingrown hairs and ensuring your skin remains smooth and healthy. For the first 24 hours after waxing, avoid applying deodorants, lotions/moisturisers, or any products containing fragrances. Eventually, you can hydrate your skin with a gentle moisturiser after allowing the area to breathe. Regular exfoliation a few days post-waxing will help keep clear dead skin cells and prevent ingrown hairs. Our Nad’s Ingrown Hair Solution is ideal for aftercare as it is made with Aloe Vera and Green Tea Extract, which helps soothe and protect your skin while minimising ingrown hairs.
Tip 10. Know When to Wax Again
One of the benefits of waxing is that with consistent use, hair grows back slower and finer over time. Generally, it’s advisable to wait 3-4 weeks before waxing underarms again. Regular maintenance will not only keep your skin smooth but will also lessen the discomfort over time, as your hair becomes softer and finer.
Waxing underarms at home can be an effective and inexpensive way to achieve smooth skin. By following Nad’s 10 expert tips, you can achieve salon-quality results in the comfort of your own home. Remember, the key highlights include using the best wax for underarms, preparing your skin well, applying and removing wax properly, and caring for your skin post-wax. With practice, you’ll naturally build confidence and be on your way to embracing smooth, hair-free armpits.
Ready to try underarm waxing at home? Nad’s Hair Removal Strawberries & Cream Waxing Dots are perfect for first-timers and pros alike. They are easy to melt in the microwave and leave you with long-lasting salon smoothness.
Grab your Nad’s waxing kit and start your journey to beautiful, smooth underarms today!

